Whether you’re in a marriage or going to a lawn birthday party, you surely want to celebrate spring and summer; a flower crown is a lovable way to make the maximum of the season’s sparkling blossoms. It’s an easy task that will upload a lovely touch to any event. Buy or select your preferred flora and make a braided crown or be part of them to a twine base to make a splendid, one-of-a-type headpiece.
Before You Begin
As you select vegetation for the crown, start by considering where it can be worn and how it will be paired. Select a few faux blooms which can be a complementary shade to the apparel. Feel unfastened to mix colors like veggies, pinks, purples, oranges. You’ll moreover want to pick flora of several sizes, textures, and shades to stand out inside the crown.
For each crown, get a minimum of one to 2 big blooms and three to five smaller blooms to use as accents. Choose some stems of greenery to act as filler. You don’t need too much big vegetation, or the crown will become too heavy and outsized.
Think about balance. Before you join the vegetation, play with the association around the crown. It could no longer needs to be flawlessly symmetrical. However, you no longer need it to appear crooked.
What You’ll Need
Equipment / Tools
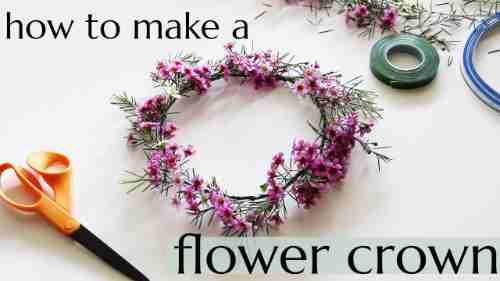
- Scissors
- Glue gun (optionally available)
Materials
- Faux plant life in numerous sizes and textures
- Faux greenery for filler
- Floral wire
- Floral tape
Instructions

Make the Base
Create a base for the flower crown. Cut a length of floral wire. In two instances, it is extended enough to wrap throughout the crown of your (or the wearer’s) head, with a piece of room to spare.
Measure the top with the cord and plan that you need your crown to take a seat. Create a loop with the twine, twisting one stop throughout the middle of the twine within the length you would like.
Wrap the prolonged prevent of the cord, weaving inside and out of the loop to create a robust base. Continue wrapping till you attain the forestall, and twist the end across the loop to stable.
Tip
When deciding on the floral wire, get at least a 22-inch gauge; that’s a thicker wire. If you get a 26-inch gauge, you could use it. However, you need to double it as lots as make the wire stronger to assist the entirety.
The wire inside the Main Blooms
Once you have got were given a base, begin putting your important flora. Start with the most vital blooms and vicinity them in which you would like them. If your stems have wires, you may wrap them throughout the bottom of your crown. If no longer, use floral tape and wrap it in more than one instance across the trimmed stems of your blooms.
Add Filler Between Your Flowers
Using a similar technique, start protecting the complete loop of the crown base together with your filler greenery. Every so regularly, you could select to include a smaller flower. Work around the base until you fill the crown with greenery.
Add Any Extras
Once you’ve finished the crown base by protecting it with greenery, pass lower returned and upload any other flower or leaf portions you might like. You can insert the pressured-out stem of your florals into the twine of the crown base, but for it to remain longer, use a glue gun if you want to use man or woman leaves and stems and attach them to the existing foliage.
It’s Ready to Wear
Since it is custom-geared up, your DIY flower crown must fit securely; however, if it slips, strengthen it with some hidden bobby pins.